I am now showing the first sign of mold showing up this spring, after 5 record-breaking harsh winters. I'm pretty happy with that result. A few boards on the front of the house are darkening with mold. When the weather warms further I will see what it takes to restore the finish. i'm hoping bleach and a reapplication of linseed oil and mold inhibitor will be effective, since the color and natural wood grain still look great over most of the house.
I also found out last year that the mold inhibitor in the stain is also an insecticide, and Carpenter bees, a major problem for natural cedar, are killed on contact, and discouraged from returning for at least several months after application but both the hardness of the stain, and the insecticide.
Sunday, April 8, 2018
Wednesday, April 22, 2015
Follow up after 2 record cold Michigan winters
After two winters there is no sign of any mold, peeling, wood cracking, or wear anywhere. These were two of the coldest/snowiest winters on record in Michigan. Carpenter bees had no problem chomping on the new siding with a few new holes that needed attention, but that is no worse than any other year. The finish still looks fresh. Feels firm to touch, but looks freshly applied. Then grain of the cedar still shows through beautifully and is plainly seen from the street. I've had a lot of compliments from neighbors and passers-by. By comparison, a section on the back of the house stained with a waterbased Sherwin-Williams stain on stripped bare cedar 6 years ago started showing some color fading and black mold within a few years, and very little of the wood grain, knots, and color variations are visible through the stain.
Saturday, November 16, 2013
My Search For the Perfect Natural Cedar Look

Here's my newly re-stained 14 year old Michigan cedar house
I set out to find a way to restain poorly treated cedar to it's natural beauty with a long lasting finish. I found that the consensus of online independent blogs, testing reviews, and customer feedback was that there is no finish that will accomplish this, but a few people said they had good results with custom mixes of there own. I was foolish enough to put my house on the line to test this, and this blog is dedicated to briefly documenting the approach I used and my results.The starting place: badly finished cedar siding
I started with cedar that had been left unprotected by the builder 14 years earlier through fall and winter, allowing ugly black mold spots and water marks to obscure much of the grain. This was originally covered with a "Cedar Bark" color semitransparent stain, allegedly from Sherwin Williams, though I am not confident that we really got the brand name product. Essentially no grain was visible through the stain when they were done painting. Then 14 years of Michigan winters and summers later, when I finally got around to refinishing the house, the stain was darkened to a dark brown and blackend by mold, and had started to peel away in small flakes in many places.The prep
Various prep methods were tried before we settled on chemical stripping and recoloring. we used Behr water based deck stripper, followed by their deck wash. Both were diluted about with water, and applied with a garden type sprayer. The stripper was cleaned off by power washer with enough distance to rinse and also remove just a little of the loose surface wood fibers. With practice, I found myself using less and less pressure and relying more on the stripper to do the work, and the deck wash to restore the color. The stripper left the wood looking grayish and softened the surface wood fiber to a slimy texture. There was a white foam coming out of the wood after rinsing. I found that it was not necessary to wash it until the foam stopped bubbling completely. Flat-planed wood under the eaves was squeeged off to prevent drip marks. The Deck wash was left to dry on before rinsing. This seemed to help a lot in restoring the natural cedar color and converting the gray film to look like new wood. The stripper needed dilution at least 1:5 or the wood broke down too much. It also had to be rinsed of promptly. The deck wash could be applied stronger, I think I used 1:3 much of the time.We tried power washing some areas first, especially on the clerestory level on the roof. The aggressiveness needed to get to clean looking wood gouged the soft pulp of the wood between the grain lines and made the grain so exaggerated it looked fake when it was stained. Sanding that down wasn't an option because the siding, like most cedar siding, was mostly rough sawn, not planed smooth. Only the horizontal sections under the eaves were finished with smooth wood. That wood did not tolerate power washing because the old stain adhered to knots in the wood. Aggressive washing to remove the stain from those areas gouged the wood unevenly around the knot. Chemical removal worked fine once I tried it.
First coat: Traditional oil based deck stain
When I tried staining the prepped wood with Sikkens, the stain brought out every irregularity in the wood highlighted with a dark brown that looked almost black. Pressure washer marks, irregular stripping chemical etching, saw marks, repairs, you name it. So after experimenting a bit, I did a sealer coat with Cabots Wood Toned cedar translucent deck and siding stain. The Cabots seemed very thin and I didn't think it offered much protection, but it did penetrate fairly well. into the loosened grain from chemical treatments and powerwashing. For under the eaves I counter-wiped with a microfiber cloth after staining. By the end of the project I was actually mounting the cloth on a holder at the end of an extension handle and using it for applying stain directly, for the horizontal under surfaces, without having to use any ladders.Still didn't look right:
The Cabots did a great job at sealing the grain without making imperfections and saw marks stand out like a sore thumb, but the color of the Cabots was way too red for my taste, and looked like cheap outdoor furniture. Also, some of the irregularities in the wood were still visible, plus unevenness from my amateur painting skills. After a bit more experimenting, I found I could use both off the shelf staining systems, plus a sailboat style varnish and oil mixture to both cover any remaining imperfections, correct the color, and also protect the wood better from the elements.Second coat: Custom mixture protective coating:
The second coat went on much easier and thinner than the first. I overcoated the Cabots with a mixture based on finishes used on wooden sailboats, plus some Sikkens Cetol SRD translucent stain, also Cedar color. I mixed:- 1 gallon Sikkens Cetol SRD translucent stain, Cedar color
- 1 gallon Boiled linseed oil
- 1/2 gallon Helmsman Spar urethane
- 1 qt gum turpentine
- 4 1.5oz bottles of M-1 mold prevention paint additive from D-mand Better Products (Home Depot)
- up to 1/2 gallon mineral spirits to thin the mixture to desired consistency and penetration, depending on temperature, etc.
Results:
We won't know until a few michigan winters pass, but the initial results exceeded my expectations. The cedar grain is enhanced vs. brand new uncoated wood, and the color tone is a good match to the original wood, (but a much darker shade), while still allowing the natural subtle tone variations in the different pieces of the clear cedar to show through. It is a bit glossy, but the gloss is gradually fading to a matte finish with time, without any appreciable loss of color richness or grain effect. I stained the last bit in 40 degrees F with no mineral spirits in the mix, and that is taking a longer time to lose it's gloss in the cold weather, but I think it will be okay.The parts finished in hot weather cured much faster. It certainly is tougher and harder to the fingernail than water based semitrans, and also is more integral with the surface wood grain, but it has some give to it, much softer than a spar urethane.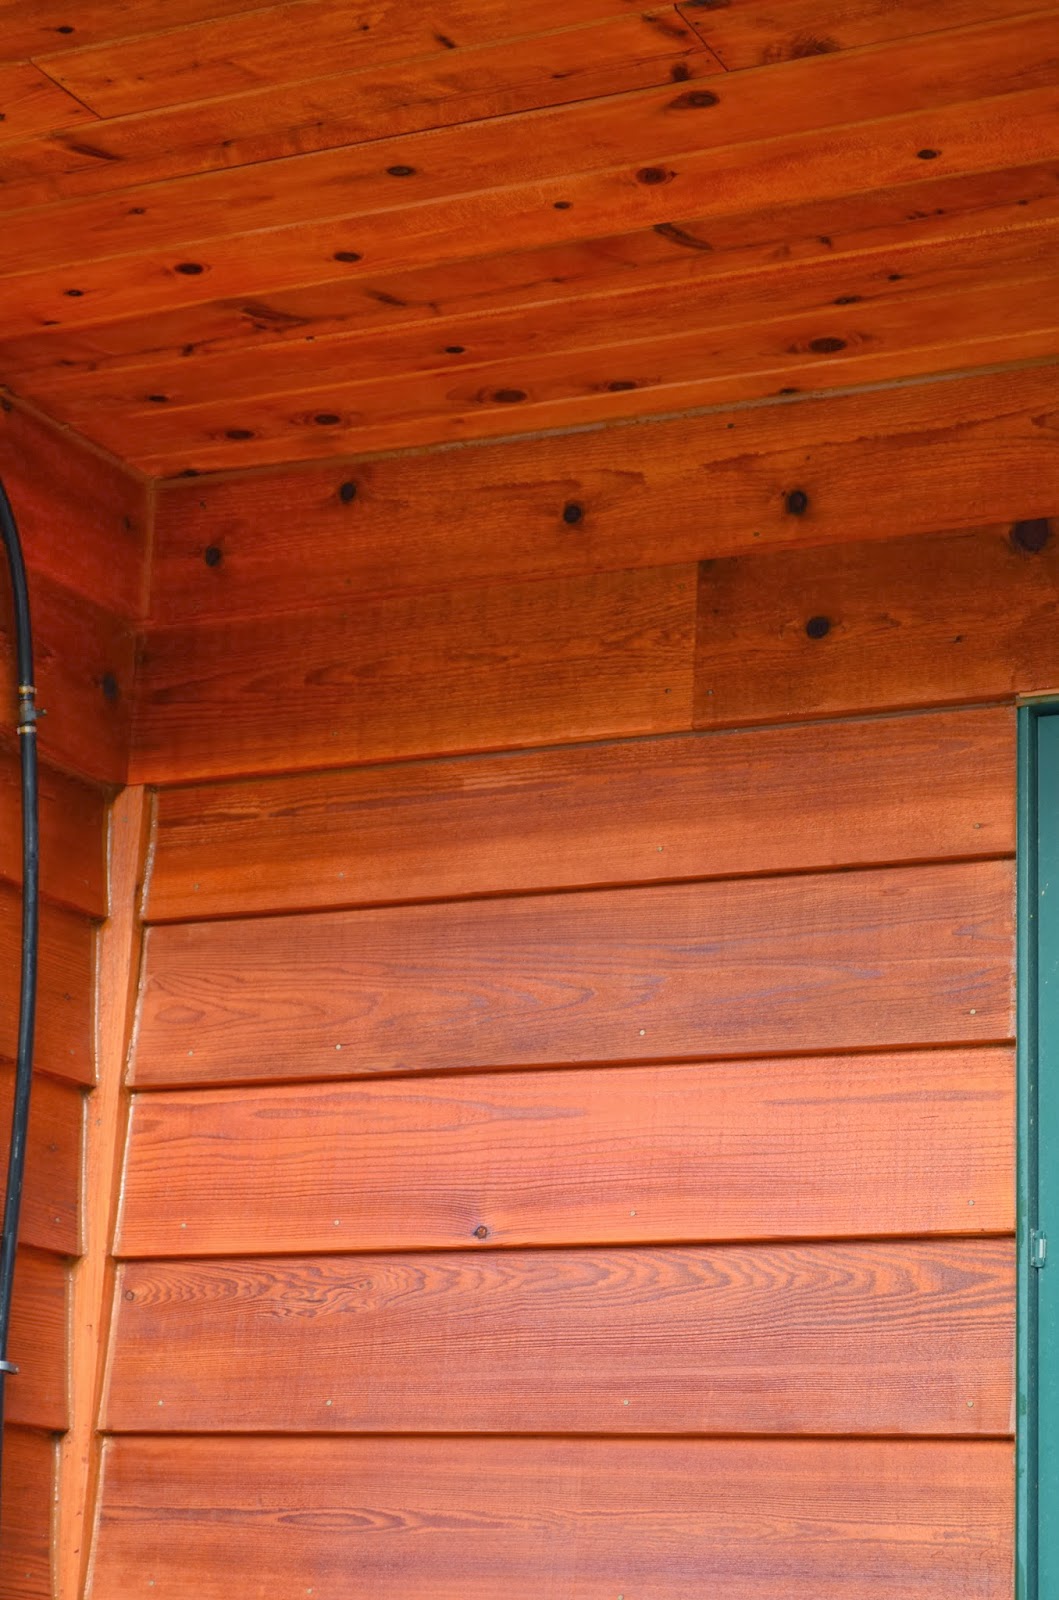


Subscribe to:
Posts (Atom)